Setting up camera
Summary
- Drag’n’drop Virtoaster camera tool to your scene to run the script
- Press “Point”, place point helpers where you want to go. Maintain 1,5-3m distance between them
- Set height of all created points at 1,5m above the floor
- Press “Create camera”
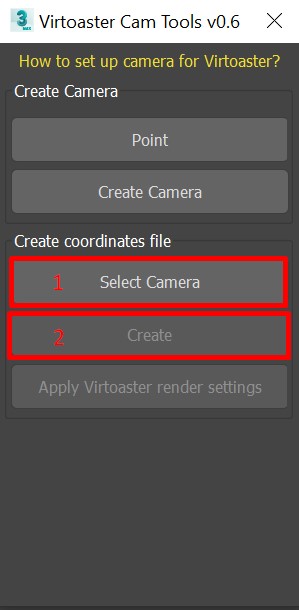
- Press “Select camera” and choose Virtoaster camera, then press “Apply Virtoaster render settings”
- Proceed with “Render settings”
Full guide
Virtoaster tours require two key assets to be made: sequence of 360 panoramic renders and a 3d model of the scene. Here we will show you how to start the rendering process, kicking off with camera setup.
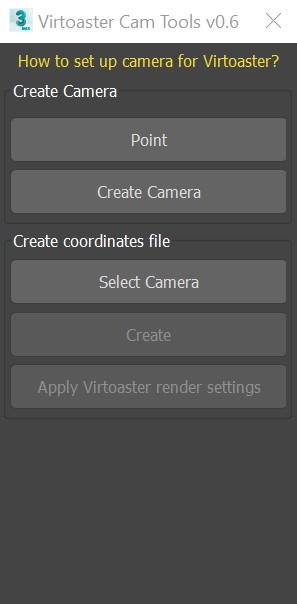
To set up a camera, please download our camera creation tool. Open your scene and set viewport view to Top (hotkey T). Drag’n’drop camera creation tool to the viewport, you will see the following interface:
Start with creating auxiliary Point objects. Press “Point” button in the script interface, press left mouse button to place points where you want to travel through the tour. Click right mouse button to stop.
Each point will correspond to a single render, so set points only where you would want to go. Try to place points evenly through the scene and only in places where it is physically possible to walk, e.g. do not place points on top of tables, beds, etc.
Important: do not place points too close to each other, it will be inconvenient, when travelling through the tour. We recommend to keep distance between the points at 1,5-3 meters.
You will be able to travel between the points only if there is a clear line of sight. There should be no solid obstacles between neighboring points, like closed doors, curtains or screens.
To wrap it up, here are the main requirements:
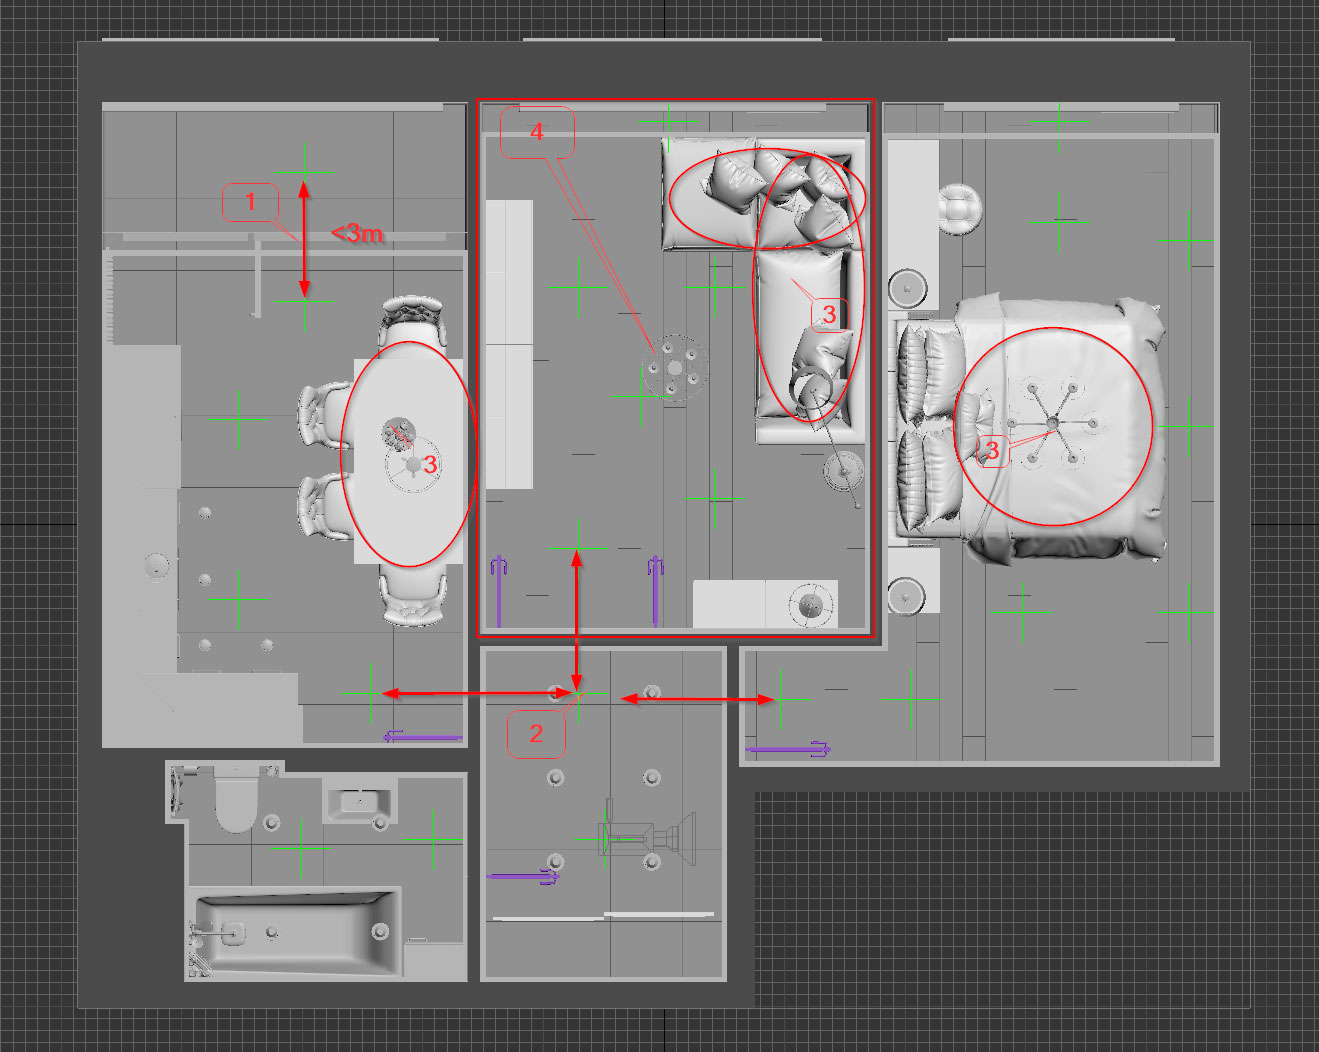
- The distance between neighboring points should be no more than three meters.
- Points, between which there will be a transition, must be in line of sight.
- You should arrange the points only where you can walk. For example, there should be no points above beds and tables.
- You should distribute the points across the room evenly.
See the example of correct placement below:
Next, select all created points and set their height at 1,5 meters from the floor (average human eye height). If there are some ladders or there are several floors in your scene you should take that into account and set height relative to the corresponding floor level.
Finally, select all your points and press “Create camera”. Animated camera will be created, with each point corresponding to a single frame.
Important: by default 3d max create points at a height of zero. Make sure you placed your points at proper height before creating the camera.
In addition to camera, extra geometry will be created for each point. It is used to determine the coordinates of the frame. These pieces of geometry are not renderable, so they will not impact your image.
Important: if, for any reasons you want to change the position of a point, please delete Camera and all auxiliary geometry first. Afterwards you should change point position and press Create camera again.
Important: if there are some animated objects in your scene, our tool will prompt the following message, asking you to delete them:
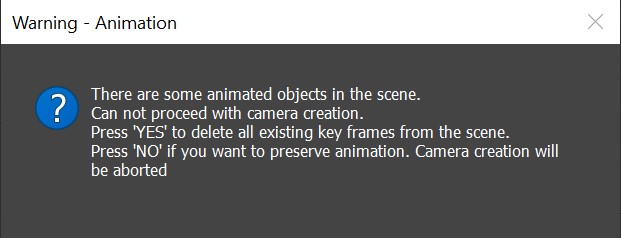
Animated objects will interfere with rendering through the animated camera, e.g. position of animated door will not align with 3d model on different frames of the tour. Thus, the only animation allowed in the scene is a camera created with our tool.
Press “Select camera” and choose Virtoaster camera, then press “Apply Virtoaster render settings”. Script will automatically set the required settings for you and will return a message, to inform you about the changes it made:

These are the primary settings to create required panoramic images. Though you can start rendering already , we still suggest that you will check “Render settings” article first.
Optional step
By default we determine coordinates of each frame from auxiliary geometry, created with our tool. However you can manually upload a coordinates of all your points, which is explained more thoroughly in our “Uploading assets” guide.
You should use our camera creation tool to create .txt file with the coordinates. Press “Select camera” and choose Virtoaster camera, then press “Create”. You will be asked to select a location where to store file with a coordinates on your PC.