Tour editing mode
“Editing mode” is an alternative mode of web player, it is sometimes referred as WYSIWYG editor (What You See Is What You Get). In this mode you can travel across the space the same way you do in “View only” mode but “Editing mode” also contains a set of tools to add extra features such as navigation panels, creation of interactive objects, record routes, etc.
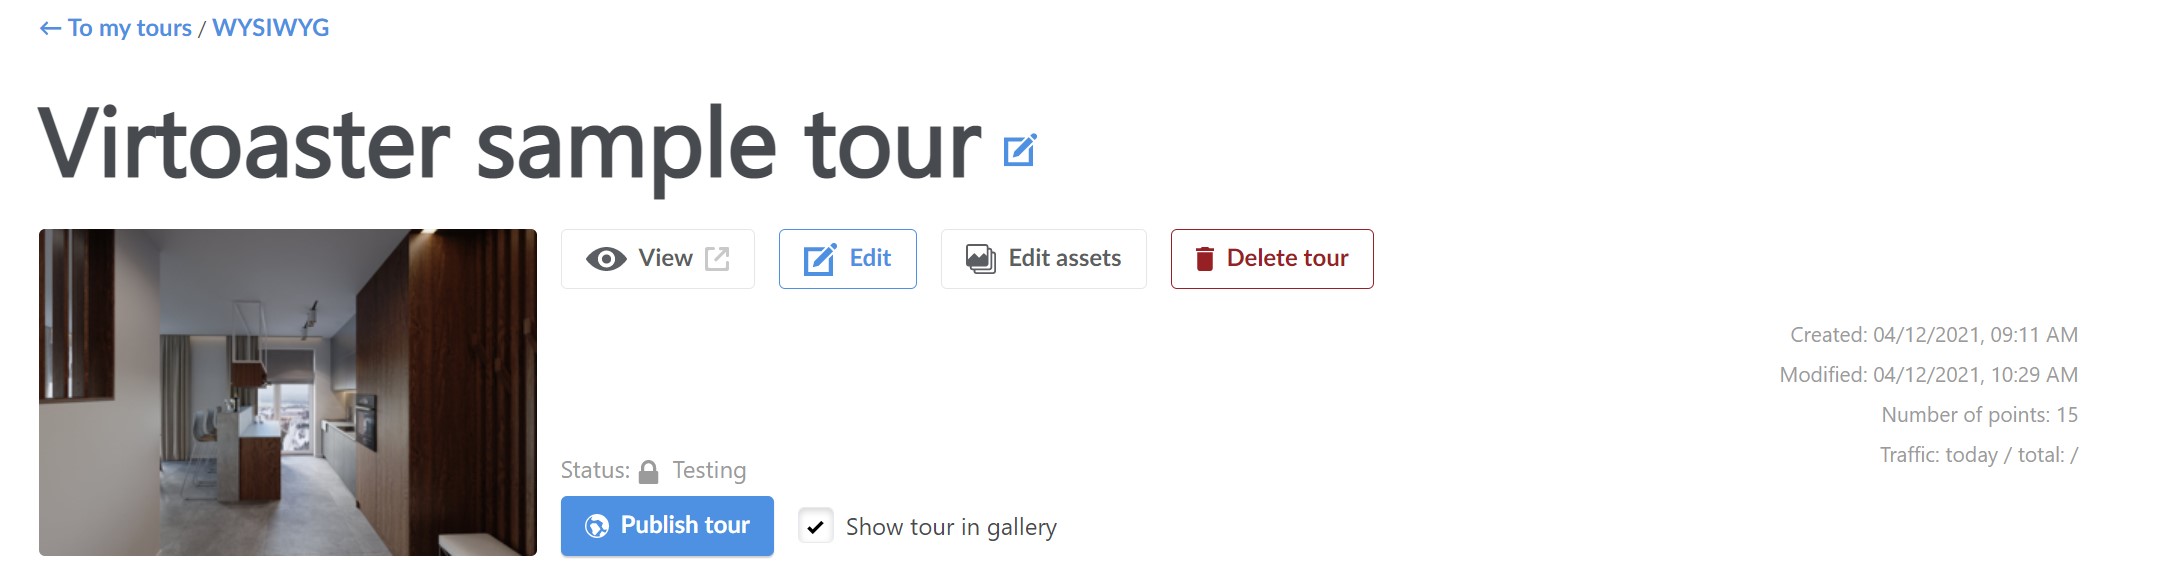
To enter editing mode, hover mouse over the tour in tour list and press “Edit tour”:

Also, you can enter editing mode when editing tour assets, by pressing “Edit tour”:
Instead of the toolbar available in view mode you will see completely different user interface:
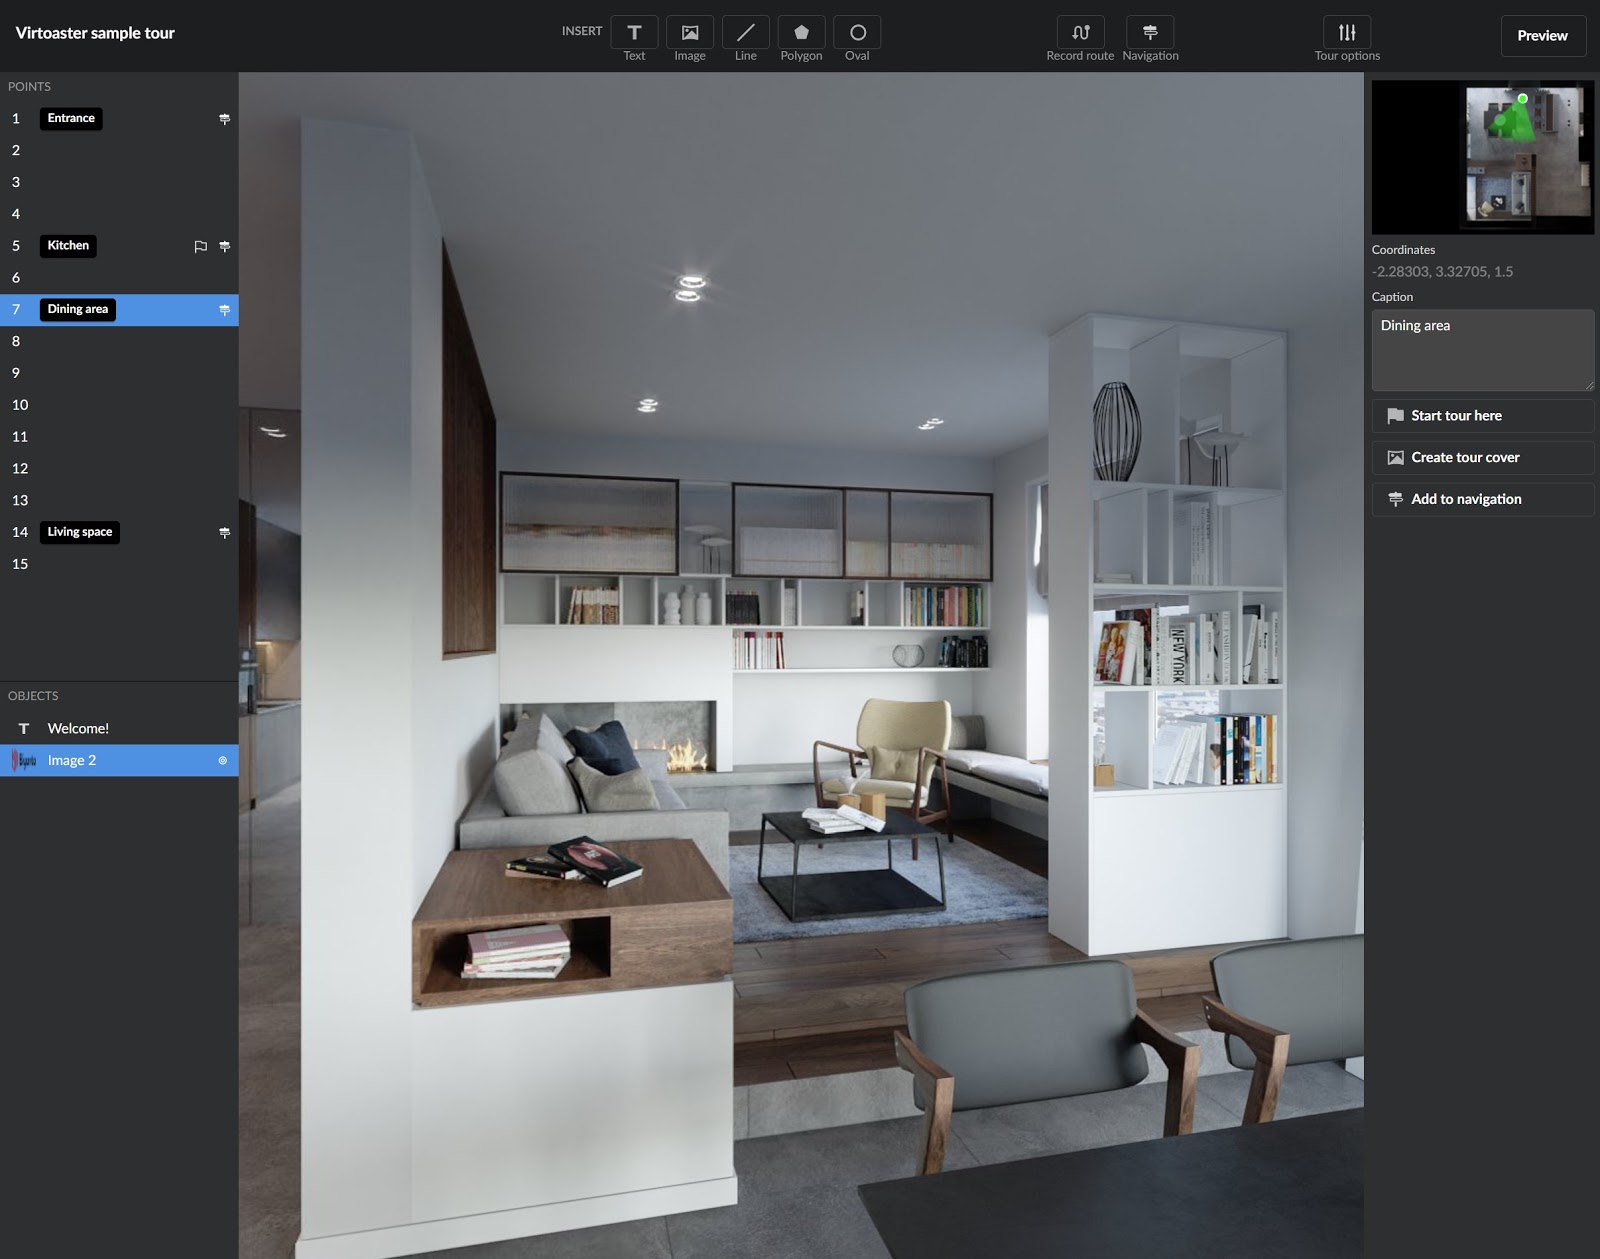
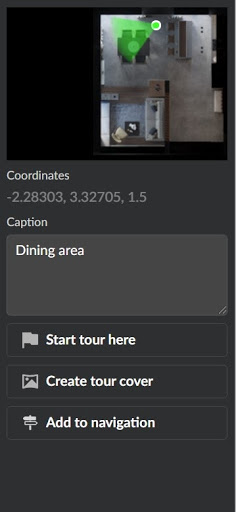
On the right side of the screen there is a context menu, where you will spend most of your time. By default it is a menu of the current point of the tour, where you can see your position in the tour and edit features of this specific point, e.g. add it to the navigation bar or make it a starting point in the tour.
This menu is context dependent and will change if you decide to edit other tour features.
Important: to go back to the previous menu of the right sidebar (e.g.menu of the specific point), press “Escape”.
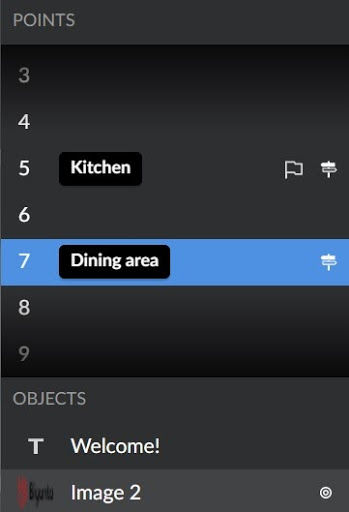
On the left side of the screen there is a navigation bar with a list of points and objects in the tour. You can click on the point or an object to move to it right away. Current selection is always highlighted in the list.
Next to the point number you can see the caption and icons for special features associated with this particular point. For example point 5 on the image is a starting point in the tour and also included in the navigation shortcuts.
On the bottom of the left sidebar there is a list of objects in the tour. Also called
overlays,
they are interactive 3d objects which exist in the same space as the 3d model of a tour.
Overlay
is a visual part of an interactive object, but you can also attach a specific action to be
performed when the user interacts with the overlay. Overlays with an action assigned to them
are
marked with a special icon![]() . This is a vast topic however and it is
described in detail in “Creating
interactive objects” article.
. This is a vast topic however and it is
described in detail in “Creating
interactive objects” article.


On the top of the screen there is a toolbar, where you can select an overlay type to insert in the tour or you can access other features of the editing mode.
Let’s go through the main features one by one. Most of them are very easy to use and pretty straightforward, open the rollouts to learn more about each one of them.
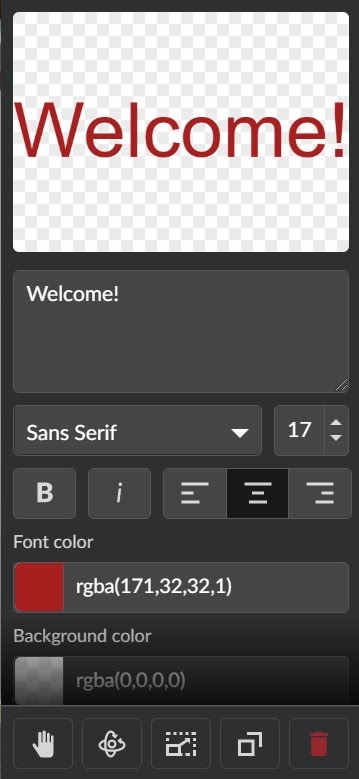
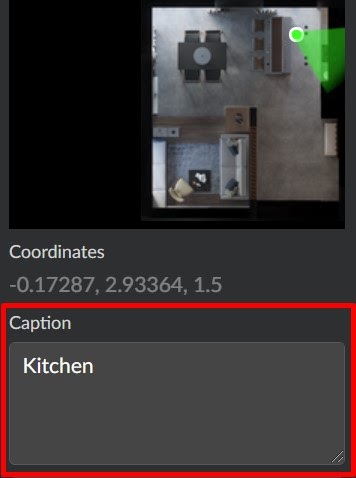
Edit Caption
“Caption” is a small note for each point in a tour, displayed in the bottom of the screen in view mode. By clicking on a specific point you may edit a single record for the point in the right side bar.
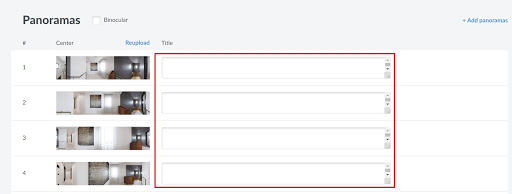
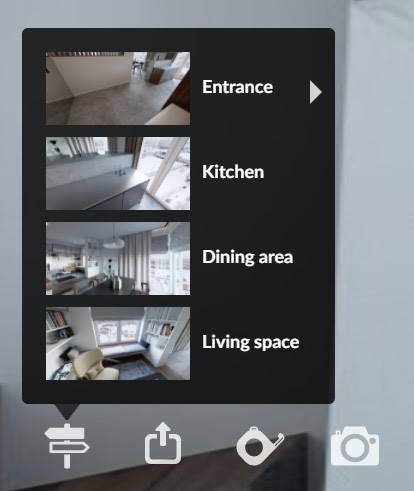
To edit all captions simultaneously you can also click on a tour in your tour list, and add text description to every point in the image list:
Captions are completely optional, but can be used to improve usability of the tour. For example, they can describe a room type and how big it is, e.g. “Dining room (8,87 m2)”
Set starting position and create tour cover
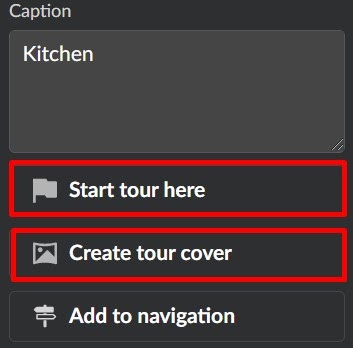
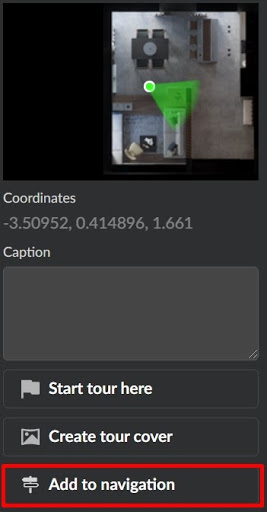
Starting position is a point, where the user will be located when loading the tour. It is set automatically, when tour assembling is complete. You can change it manually, by going to the required point and clicking on “Start tour here”. “Start tour here” will also overwrite the default tour cover you can see in your tour list. If you want to change tour cover manually, turn the camera the way you want to and press “Create tour cover”.
Navigation panel
Navigation tool is a panel for quick transition between distant locations in your tour. You can think of it as a list of shortcuts, press on the shortcut and you will instantly move to the corresponding point. Navigation panel is located in the bottom left corner of the tour in view only mode.
To add the point to the navigation panel you can use a shortcut from the point menu in the right side bar:
Or you can use a dedicated “Navigation” tool, where you can add, remove or edit points, added to the shortcut list.
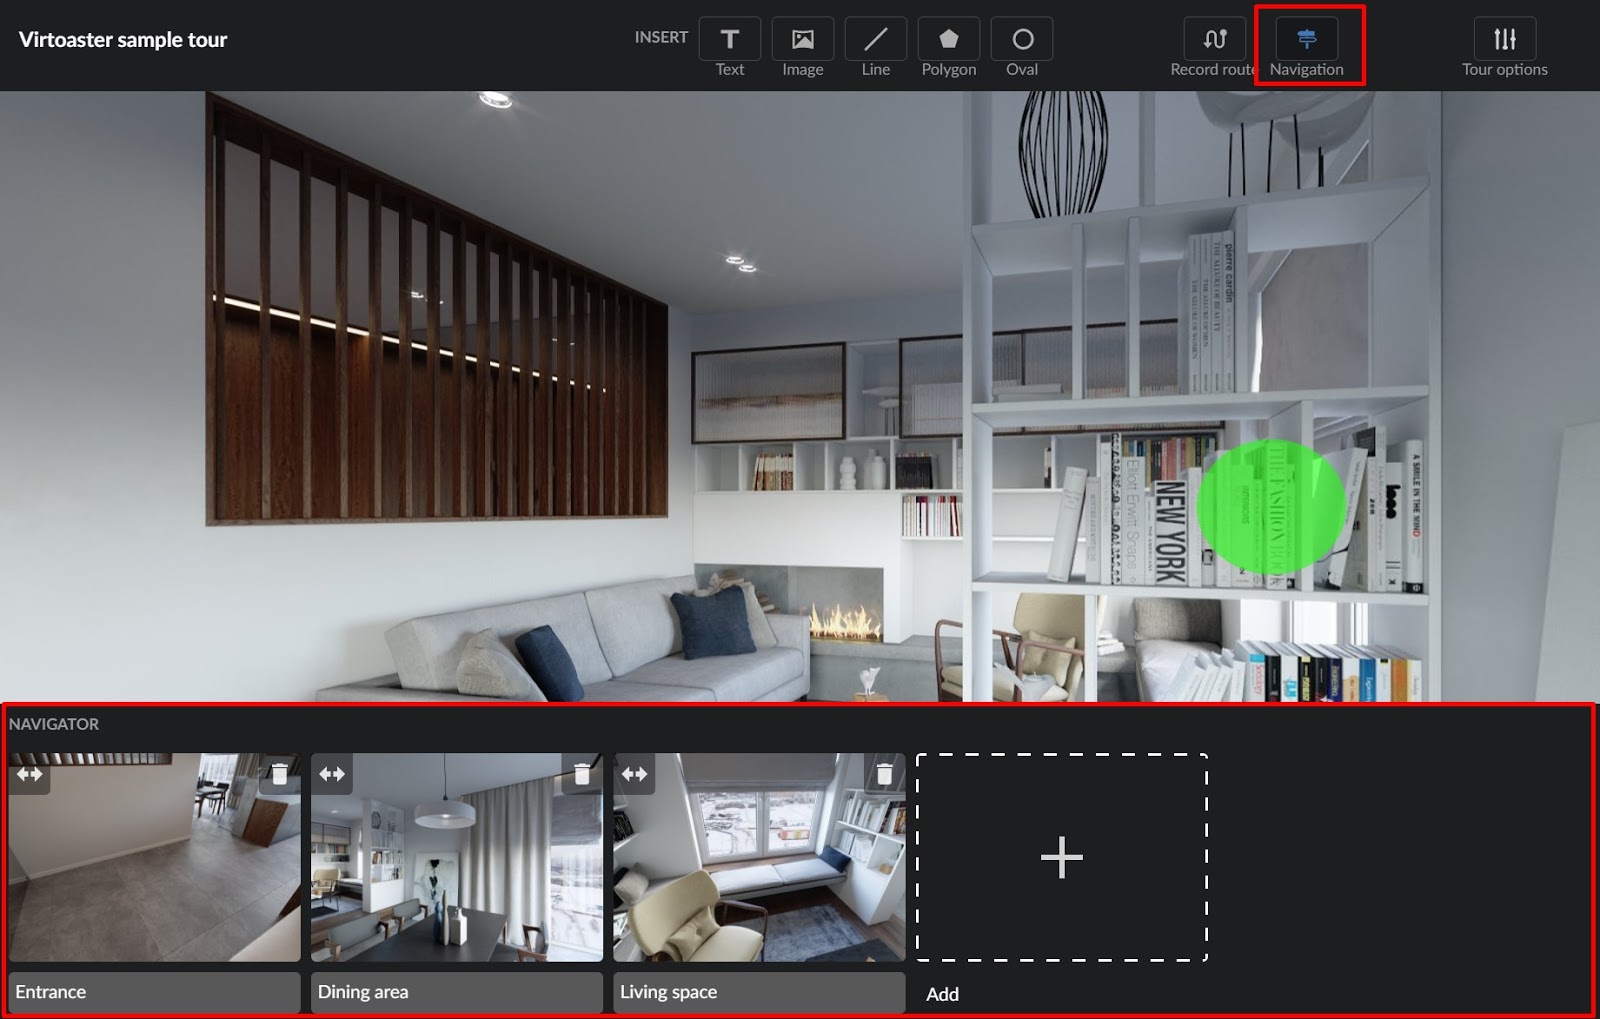
To add a point to the navigator, set the camera the way you want and press “Add”. Press and hold
the
![]() icon to change the order of the points. Press the
icon to change the order of the points. Press the
![]() icon to remove the point from navigation.
icon to remove the point from navigation.
Record route
You may record a route in the editing mode and play it later in view mode. Camera will travel across the space as if it is a live person controlling the movement, including both movement and rotation of the camera. When the route will reach its final point it will start again from the beginning. You may use this feature to show the tour on screen automatically or to make a quick showcase of main features of the space.
To start recording, press the ![]() “Record route” icon on the top of the screen and go
to your starting position. Press
“Record route” icon on the top of the screen and go
to your starting position. Press ![]() “Start recording”, the recording will start
immediately.
“Start recording”, the recording will start
immediately.
Start moving through the tour. We suggest using a keyboard for more fluid movement: WASD buttons to move around and IJKL buttons to rotate the camera. To make smooth 180 degree turns you can use corresponding buttons on the sides of the screen.
You may pause recording anytime and see the result by pressing the ![]() “Play route”
button. To make the experience more fluid you can also remove any pauses you made while
recording with
“Play route”
button. To make the experience more fluid you can also remove any pauses you made while
recording with ![]() “Clear pauses” button.
“Clear pauses” button.
If you press ![]() “Resume recording” after the pause, you will be returned to the last
known position of your route. To finish the recording, press
“Resume recording” after the pause, you will be returned to the last
known position of your route. To finish the recording, press ![]() “Save route”.
“Save route”.
Set tour options
Tour options contain some of the color and minimap setting you may change to your taste. You may press colored icons to change colors and transparency in RGBa space or use direct input (first three numbers define color, fourth number define transparency).
Map options define the size of the map when loading the tour. By default map is set to “Collapsed” - medium size of the map. You must take into account that changing sizes of map viewport will not change the resolution of map image. You can access more options on the corresponding tab after entering the tour from the list of tours in your account.