Post production
Once your render is complete, it is time for a post production. Since everyone is using their own pipeline when it comes to post, this article will only contain some general recommendations and tips. It is not necessary to follow them precisely, but there are some caveats you should not take lightly as well.
First, to look natural every frame from a single tour should have roughly the same visual adjustments. It is just a matter of common sense – if there is a bright sun in a kitchen, there should be no moonlight in the adjacent room, unless you want to create an utterly surreal experience. 3d tour is not a still image, if there are differences between neighboring frames, they will be very noticeable. The same applies for binocular panoramas and their regular counterparts, they should have exactly the same visual adjustments.
Thus, it is logical to approach post as editing a sequence of images. While you can do a decent job, making post in photoshop, we recommend to use tools like Fusion, Nuke or Natron, they will make life a lot easier when doing post for dozen of images simultaneously.
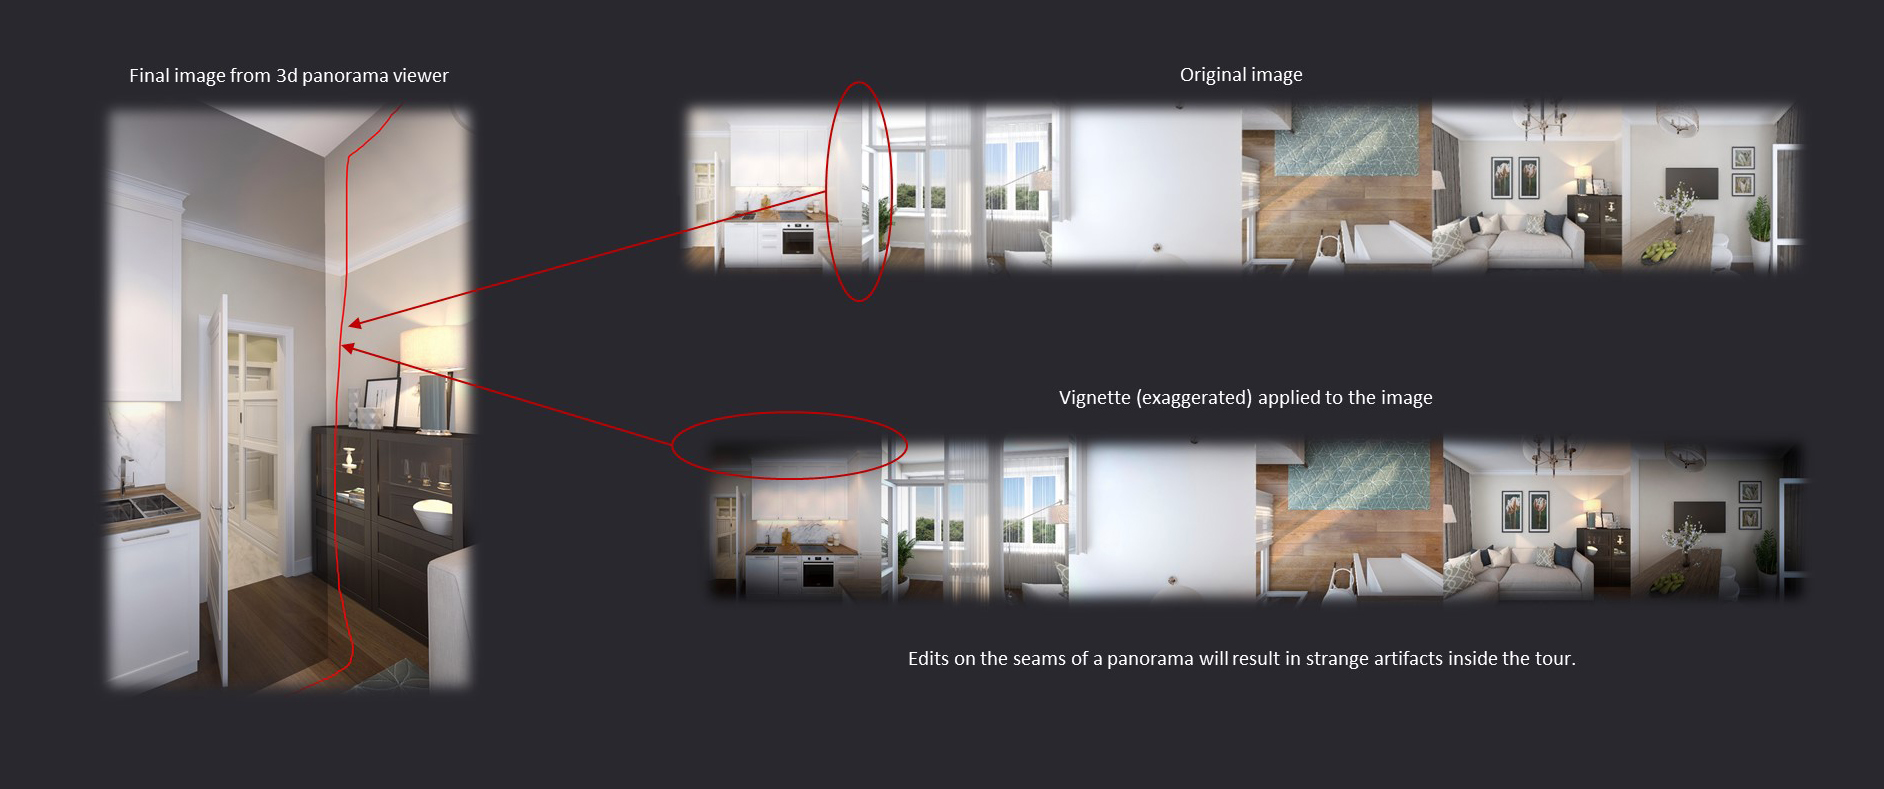
Second, from a purely technical point of view, there are some limitations for image editing when we speak about Cube Maps. Any edits on the seams of a panorama will result in strange artifacts inside the tour (that’s why vignetting should never be used). Any edit applied to the borders of squares or effect, that transfers from one square to another will create visible seams in 3d tour. Any edit applied to the whole image can be used freely.
Here are some examples:
- Edits you may use freely: curve settings, exposure, color correction, image overlays, etc.
- Edits, you should never use: blur, vignetting, depth of field
- Edits, you may use with conditions: glow, flare, sharp.
Considering the last point — you may only use these effects if they do not impact borders of the squares!
There are two ways you can add glow and flare effects:
- First, use can freely add them as long as they are within square borders. E.g. there is a spot light or an attic window within square borders.
- Second, you can cautiously use Corona render native bloom and glare setting (but not in VRay). Unless you will raise the value of these effects to extreme levels, their impact should not be visible on images with decent resolution.
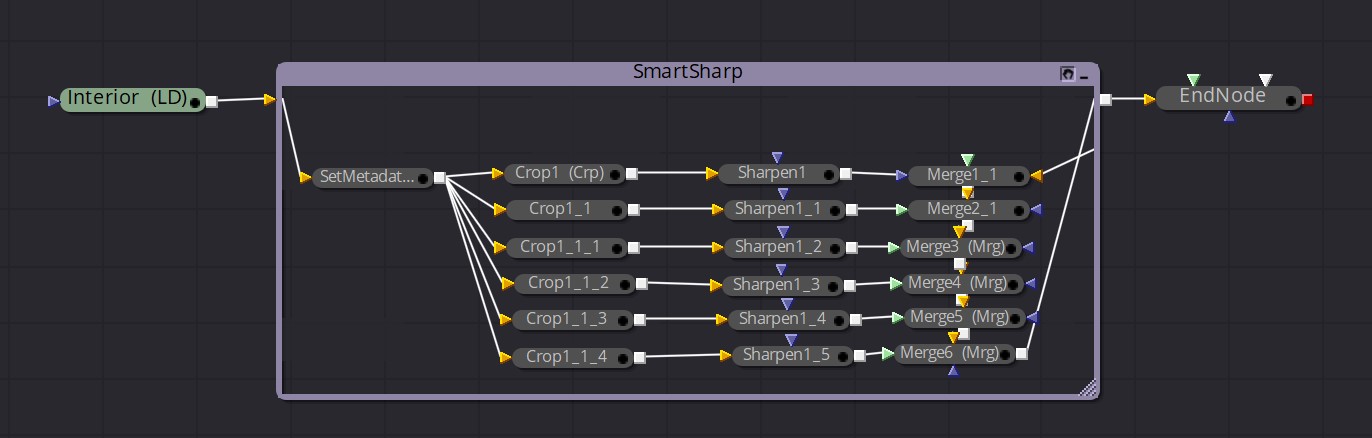
To add “sharp” it is necessary to break down cubemap to six separate images and apply sharp individually.
In Photoshop you can download this action, to simplify the process. To install action open “Actions panel” with Window->Actions menu or Alt+F9 hotkey and drag’n’drop downloaded action to the panel.
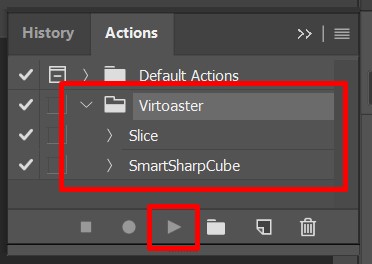
Use “Slice” action first, then use “SmartSharpCube” action to apply sharp.
Alternatively, you can create some node systems in Fusion or Nuke to do the same.
Other than that postproduction is not too different from any everyday workflow. You may proceed with uploading assets now.
Important: once your 3d tour is complete, you can easily change any panoramas from asset editor without reassembling the tour.